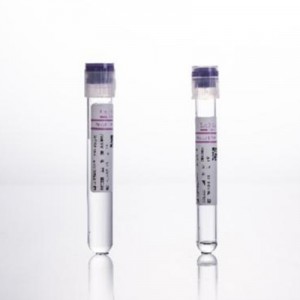
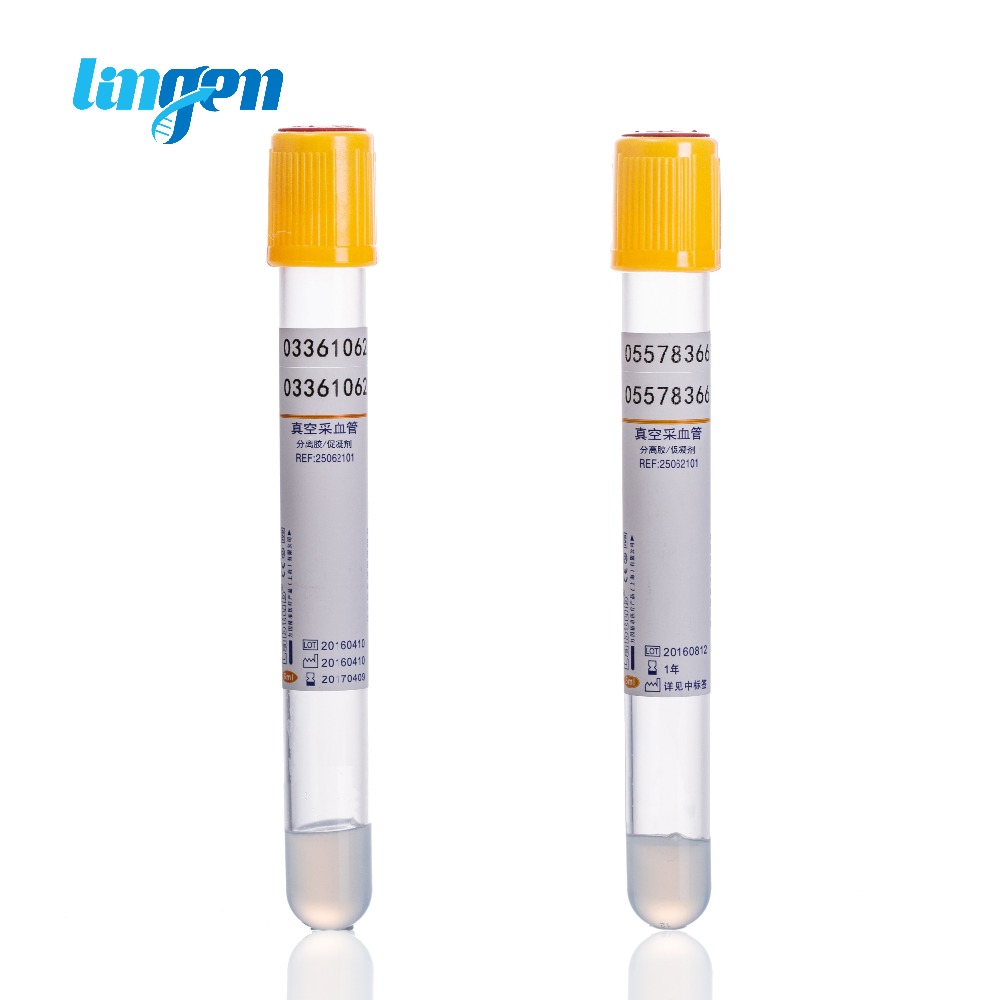
Blood Collection Separation Gel Tube
Short Description:
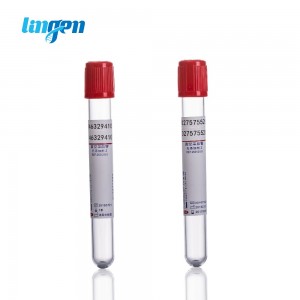
They contain a special gel that separates blood cells from serum,as well as particles to cause blood to clot quickly.The blood sample can then be centrifuged,allowing the clear serum to be removed for testing.
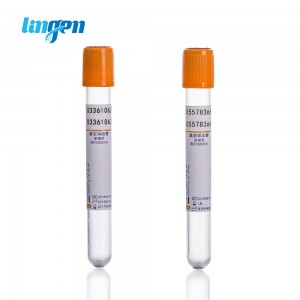
When frozen serum is required,place the plastic transfer tube(s) immediately in the freezer compartment of the refrigerator.Notify your professional service representative that you have a frozen specimen to be picked up;A separate frozen sample must be submitted for each test requiring a frozen specimen.Serum Separator Tubes(SST ). Serum separator (Gold,mottled red/gray top)Tubes contain clot activator and gel for separating serum from cells but include no anticoagulant.Adhere to the following steps when using a serum separator tube;Do not use serum separator tubes to submit specimens for which tricyclic antidepressant levels,Direct Coombs',Blood Group,and Types are requested.
1.Draw whole blood in an amount 21/2 times the required volume of serum so that a sufficient amount of serum can be obtained.The 5 mL Gold top tube will yield approximately 2 mL serum after clotting and centrifuging.The 10 mL mottled red/gray top tube yields approximately 4 mL serum.Label the specimen appropriately.
2.Gently invert the serum separator tube five times to mix the clot activator and blood.
3.Place the collection tube in the upright position in the rack,and allow the blood to clot at room temperature for no longer than 30-45 minutes.(Clots usually form in 20-30 minutes.)
4.After allowing the clot to form 20-30 minutes,insert the tube in the centrifuge,stopper end up.Operate the centrifuge for 15 minutes at the speed recommended by the manufacturer.Do not allow prolonged centrifugation as this may cause hemolysis.When using a bench-top centrifuge,employ a balance tube of the same type containing an equivalent volume of water.
5.Turn the centrifuge off and allow it to come to a complete stop.Do not stop it by hand or brake. Remove the tube carefully without disturbing the contents.Inspect the barrier gel to ensure that it has sealed the serum from the packed cells.Also,examine the serum for signs of hemolysis (red color)and turbidity (milky or opaque)by holding it up to the light.Be sure to provide the laboratory with the amount of serum specified.
6.Make sure the tube is clearly labeled with all pertinent information or bar code.
7.If a frozen specimen is not required,it is not necessary to transfer serum to a plastic transport tube.
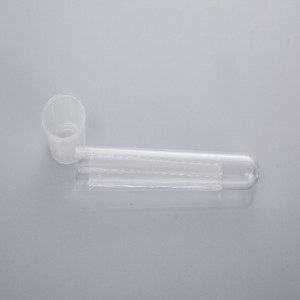
8.When frozen serum is required,always transfer the serum (using a disposable pipette)into a separate,clearly labeled plastic transfer tube Place the tube immediately in the freezer compartment of the refrigerator,and notify the professional service representative that you have a frozen specimen to be picked up.Never freeze a glass serum separator tube.Submit a separate clearly labeled plastic transfer tube for every test requiring a frozen sample.Unless otherwise indicated,serum samples may be sent at room temperature.